If you are someone who is attracted to the beauty of nature and likes to click pictures of whatever catches your eye, then you probably know that capturing a photograph is just the beginning of your photo-taking experience. You need to edit those photos as well so that they look even more amazing. Whether it’s blue skies or green trees, there are many natural elements in this world that we see every day. In fact, in general, most things in our surroundings tend to be on the neutral side neither too bright nor too dull. That being said, there are some situations where certain colors stand out in an unnatural way. For example, a bright red apple may not look as red if the lighting conditions aren’t ideal. Or perhaps the grass is so green that it almost looks artificial—like from another planet! Fortunately, with a little bit of help from some simple tips and tricks, you can invert the colors on your iPhone camera (or any camera app of your choice) and take images that look much more interesting than what you would expect at first glance.
How To Invert Colors On A Picture On iPhone?
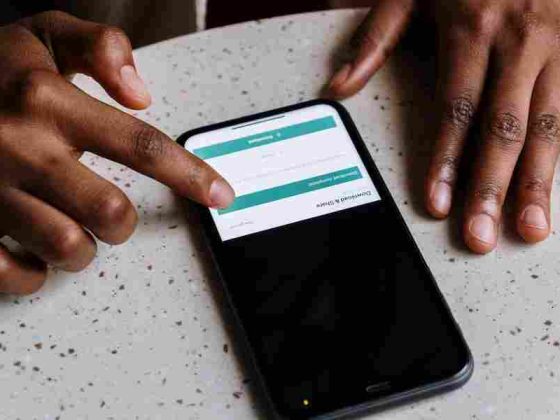
- Open the camera app and select your desired picture.
- Tap the Edit button at the bottom of the screen to bring up the editing options.
- Tap on the Color icon on top of the editing options (it looks like a circle with a line through it).
- Select any of your desired colors by tapping on it on the color wheel or by dragging your finger up or down along any of its sides.
- You can also tap anywhere inside an area you want to invert and then tap again on that area to select that color as well. This option is great if you’re looking for a specific color, like red, and wish to have it only in certain areas of your photo (for example, only in an apple).
- To save your changes, simply tap Done at the bottom right corner of the screen and then tap anywhere outside this option or anywhere outside any other editing options to close out from this menu and go back to where you were before (with your photo still selected).
- To save your changes, simply tap Done at the bottom right corner of the screen and then tap anywhere outside this option or anywhere outside any other editing options to close out from this menu and go back to where you were before (with your photo still selected).
- Tap the Share icon at the bottom of your screen and select either Mail, Messages, or AirDrop from the list of available options.
- If you’re sending your picture via email, simply tap on Email to open up a new email with your image attached as an attachment.
- If you’re sending your picture via messages, simply tap on Message to open up a new message with your image attached as an attachment.
Why Do You Need To Invert Colors On A Picture?
- If you’re taking a picture in the evening time, for instance, and wish to have your photo taken in natural light, then you can simply adjust your camera settings from the aforementioned Color icon (the one with the circle with a line through it) by selecting Natural Light.
- If you wish to take a picture of an object that has a dark color on it, like black or dark blue, and want it to look like its color is lighter (like white), then select Reverse Color.
- If you wish to take a picture of an object that has a bright color on it, like red or pink, and want it to look like its color is darker (like black), then select Reverse Color.
- If you want to take a photograph of something very colorful and vibrant but don’t want any of that color in your image other than the main part of the object (like if there are some flowers behind or around the main part of an object), then select Monochrome for better contrast.
- If you wish to have all colors visible in an image with little contrast between them so it looks more natural, then selects Dark & Light for better contrast between colors.
- If you wish all colors visible in an image but still with little contrast between them so they appear more natural and artistic (like if there are no objects around or behind your subject or if there are no bright colored objects around), then select Normal.
- If you wish to take a picture of an object that has a bright color on it, like red or pink, and want it to appear darker (like black), then select Dark.
- If you wish to take a picture of an object that has a dark color on it, like black or dark blue, and want it to appear lighter (like white), then select Light.
- If you wish to take a picture of an object that has none of the above-mentioned colors on it at all, then select Neutral Color for better contrast between colors.
- If you wish to take a picture of something very colorful and vibrant but don’t want any of that color in your image other than the main part of the object (like if there are some flowers behind or around the main part of an object), then select Monochrome for better contrast between colors.
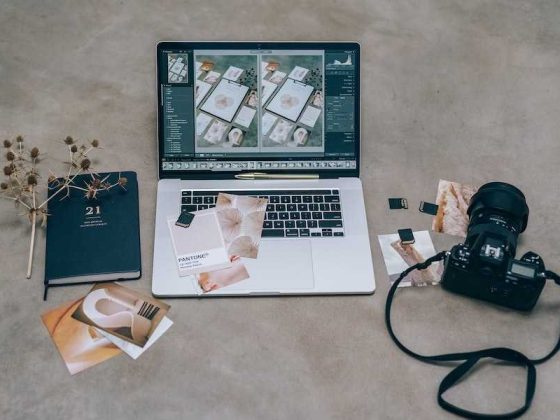
The Best App To Edit Pictures On iPhone?
1. Snapseed
Snapseed is a great app for taking pictures and editing them. It has a lot of great features for editing and retouching images. You can do many things with it such as crop, rotate, blur, live filters, color balance, exposure/contrast/hue/saturation adjust, vignette (black and white), unsharp mask (enhance sharpness), watermark (add text or graphic to the image), auto enhance (auto-correct the image to make it look more natural)
2. Picfx
Picfx is a perfect app for those who want to edit photos in an easy way without using any other apps like Photoshop or Photoshop Elements. You can crop your picture with its simple interface you can also add effects like blur remove unwanted objects from the background, sharpen your picture, add text on your photo, and save your edited photo in different formats like Jpeg, Png. It has almost all the basic options that a photo editor needs.
3. Snapseed Pro
Snapseed pro is a great app to edit pictures with filters and effects. It has a lot of cool filters like blur, sharpen, vignette, selective color, color balance, tilt shift, barrel distortion, lomo, grainy film look, and many more. The interface is simple and easy to use and it has almost all the basic options that a photo editor needs. It also has some advanced features like batch processing which will edit multiple images at once and you can also export your edited images in different formats like Jpeg, and Png.
4. VSCO Cam
VSCO Cam is a great app for taking pictures and editing them with many filters. It has lots of cool effects for image editing like light leaks, grainy film looks, tilt shift, vignette, selective color, vintage film look, etc. It also has an option to add text to your photos which is really useful if you want to add some text to the picture or write something on the image or just want to add some text to the picture without removing it from the background (as it will leave a white space).
Conclusion
The world is full of stunning colors, and you can make them even more vibrant by inverting the colors of your images. If you are wondering how to invert colors, you don’t need a special app or expensive software. You can do it with simple photo editing software like Photoshop or GIMP. You can also invert colors on your iPhone camera by using the stock camera app or the “pro” camera app. You can also change the color of an image using photo editing software. Remember that with a little bit of creativity and ingenuity, you can take beautiful images that look like they were made by a pro.