Heat and CPUs don’t exactly get along. In order to keep your computer from overheating and locking up, most modern CPUs have a heat sink attached to them. A heatsink is a device that has the primary function of dissipating heat away from an electrical device. In other words, it’s something that cools down your CPU rather than heats it up! If you want to upgrade your computer or replace a broken piece, you’ll need to remove the old heatsink and install a new one. It might seem like a tricky task, but once you know how, it’s actually pretty easy! Read on to find out more about how to remove a heatsink from your CPU so that you can perform the necessary upgrade or repair.
How To Remove Heatsink From CPU
- Unplug the computer from the electrical outlet.
- Remove the screws or clips holding your CPU in place on your motherboard. The screws are usually located on the bottom of your CPU, but if you have a socketed CPU, you’ll need to remove it from its socket and place it in a toolkit for safekeeping.
- If you’re removing an AMD processor that has a heat spreader, remove this as well. This is usually done by sliding a plastic tool along the edge of the heat spreader, popping it up, and then pulling it off using your hands or pliers.
- With all tools out of the way, use your screwdriver to pop off any retaining clips near where the heat sink connects to your motherboard (usually near one of the corners). Then slide off any retaining clips on either side to remove your heatsink completely from your computer!
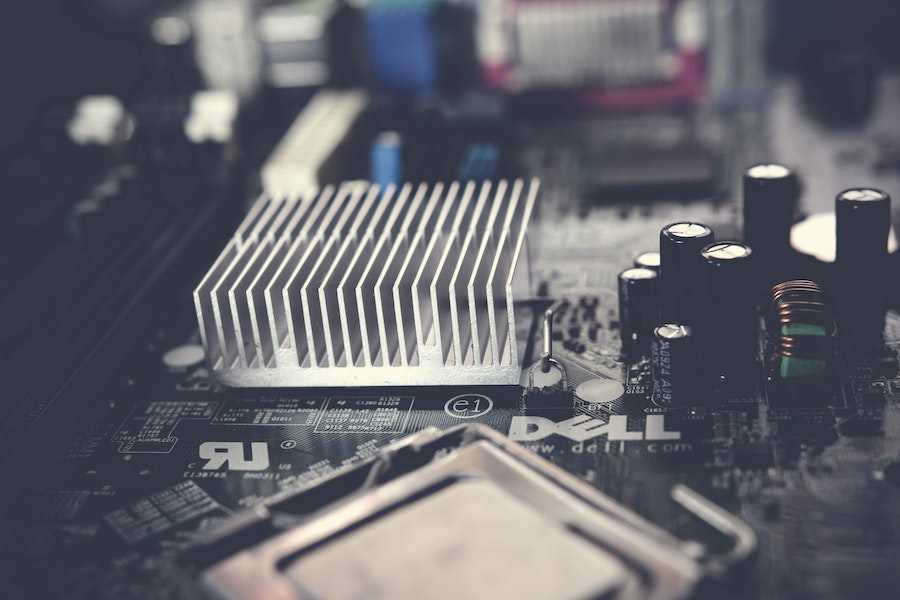
- It’s time to install your new heatsink! You’ll need to remove any screws or clips holding it in place. You’ll also want to make sure you have the right size of heatsink for your computer, but you can use the pictures below as a reference.
- Once you have your new heatsink installed, reattach any retaining clips and reinstall all of your screws or clips that are holding the CPU in place on the motherboard.
- Plug in your computer, reboot it, and enjoy!
Find The Right Screw Type
- The first thing you need to do is find the right screw. There are a few different types of screws that you can use in order to remove the heatsink. The three most common are Phillips, Flat-Head, and Torx. Each has its advantages and disadvantages, so it’s best to know which type you have before attempting to remove the heatsink.
- If your motherboard has a heat sink attached to it, you’ll have to use a Phillips screwdriver in order to remove it; otherwise, use a Flat-Head screwdriver. Torx screws don’t actually exist on most motherboards; only certain models of computers with high-end graphics cards require them! If your computer doesn’t have one of these special screws, then simply replace it with a Phillips or Flat-Head screwdriver before proceeding!
- Once you know what type of screwdriver is going to be used for the job at hand, simply take it and unscrew the screw that’s attached to the heatsink. The screws are usually located near the motherboard, so simply look for them and you should find them easily.
Disconnect The Heatsink Fan
- Start by removing the old heatsink from the CPU.
- Remove the screws securing the motherboard to the case by removing them from both sides. If you have a motherboard with a socketed processor, you can remove it without having to remove the motherboard from your case.
- Unplug all cables and connectors attached to your computer and remove any drives that are currently attached. Place them in another location in your case if possible or store them until you’re ready to reinstall everything!
- Remove any screws or holding clips holding the motherboard down inside of your case and lift it out of its slot so that you can access its back side. You may need to use a screwdriver or other tool to help pry up on one end of the motherboard to get it out of its slot.
- Remove the screws securing the motherboard and remove them from your case. If you’re replacing a processor, remove it from the socket as well.
- Remove the old heatsink from the CPU and place it aside in a safe place where you can easily find it later on when you need to reinstall your new heatsink. If you want, you can wrap it in some paper or plastic to keep dust off of it, for now, then put it away for future use!
What Is The Best Way To Remove A Heatsink From A CPU?
- Use a Phillips screwdriver or flathead screwdriver to remove the four screws from the top of your CPU. You can find these screws in one of two places: either on the top of your CPU or in the heatsink itself.
- Once you’ve removed the screws, you can use your hands to lift up the heatsink and remove it from your CPU. Depending on what type of heatsink you have (a regular heatsink, or a heat pipe), this may be pretty easy to do. But if it’s a dual-slot graphics card, then this might be a bit more difficult!
- Once you’ve removed the old heatsink, place your new piece onto your CPU and reinstall all four screws! Now that you know how to do this, you’re ready to upgrade or repair your computer!
Are There Any Risks Associated With Removing A Heatsink From A CPU?
- The heatsink is attached to the CPU by several screws. If you’re not careful, you could strip these screws and risk damaging the CPU.
- The thermal paste that is inside the heatsink will be extremely hot. If you handle it incorrectly, you may burn yourself or melt your PC.
- The thermal paste is a very sticky substance that can damage your motherboard if it gets into the wrong places. It may also cause damage to other components in your PC if it gets onto them as well!
- Your CPU could overheat and catch fire if you don’t handle it properly! This is a serious risk, so make sure that you know what you’re doing before tampering with your computer’s internal components! Also, make sure that nobody else has access to your computer while this operation takes place; they may try to turn on your PC by mistake and cause an electrical fire.
Conclusion
Now that you know how to remove a heatsink from your CPU, you can perform necessary upgrades or repairs on your computer with ease! If you ever need help with computer repairs, there are lots of people out there who can help. You can find a local computer repair shop by searching for one in your area or by asking a friend for a recommendation. If you’re comfortable with doing repairs on your own computer, you can also visit online forums like Reddit.com or forums provided by the manufacturer of your computer to see if anyone else is having the same problems as you.