If you’re an avid PC user, you most probably know how to add a new graphics card to your computer. However, what if you want to take it one step further and remove the GPU from the motherboard? It might sound a little too much, but it is not as difficult as it seems. Removing the GPU from a motherboard becomes very important in certain scenarios where you want to use only certain features of the motherboard. For example, if you build a computer for someone who is not so interested in playing games or watching movies on their computer, then removing the GPU from the motherboard becomes very useful. Furthermore, there are several other uses of removing the GPU from a motherboard that can come in handy at different times. You must understand that this article talks about removing only the GPU and not the entire graphics card. We will not be talking about removing other related components such as memory or PCI Express slots.
How To Remove GPU From Motherboard?
- Remove the power cord from the power source and wait for a few minutes to discharge any remaining current.
- Disconnect the power cable from the graphics card.
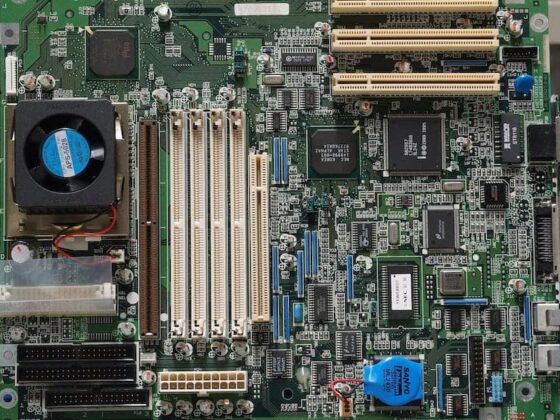
- Open your computer case and locate the PCI Express slot that the GPU is plugged into. Most likely it will be located near a PCI Express x16 slot, but this is not always the case. The PCI Express x16 slot should be closest to your CPU cooler and have a black plastic cover on it, if you do not see one, then do not continue as you may damage your motherboard or worse short out your system by touching something that you should not touch in there!
- Locate the screw holding down the bracket of your video card and remove it with a screwdriver or Allen key wrench. If you cannot find this screw then skip this step and move on to step 5 below as it may already be loose enough (in which case skip down to step 5). This screw is usually located near the PCI Express x16 slot but can sometimes be located in another location, so do not worry if it is not near the PCI Express x16 slot.
- Remove the video card from your computer case by pulling it out of its PCI Express slot. If you have a card that is stuck in the PCI Express slot or if you cannot remove your video card from your computer case then skip down to step 7 below. If you are using a dual GPU card (such as a Crossfire or SLI setup) then only remove one of the GPUs at this time and leave the other one plugged into your motherboard for now (you will need to remove both later on though).
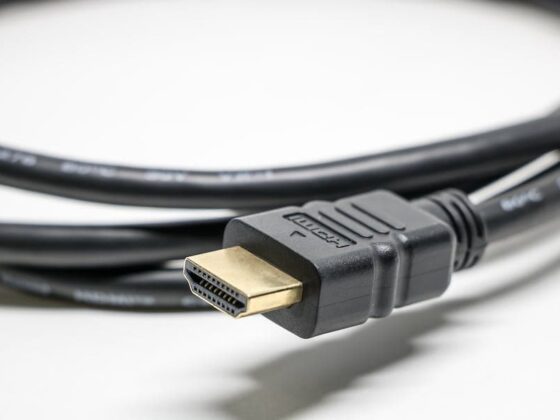
- Unplug all of the power cables from your video card, including any 6-pin or 8-pin power cables that are connected to it, and also disconnect any data cables as well if they are connected to it such as HDMI, DVI or DisplayPort cables.
- Remove the screws that hold the video card in place inside your computer case. Most video cards will have 4 screws holding them in place, but some may have more or fewer screws depending on their size and model.
- Carefully pull your video card out of the computer case and lay it down on a flat surface.
- Locate the black plastic bracket that is attached to your GPU, remove it from the card and set it aside for now (you will be re-using this later). If you are using a dual GPU card then remove both of these brackets from both of your GPUs now (you will be re-using these later as well).
- Take your screwdriver or Allen key wrench and remove all of the additional screws that are located around the outside edge of your GPU, these should be marked with a red circle on them and are usually 2 to 4 Philips head screws (do not worry if you do not see any red circles on the type and size of your video card.
What Is A GPU?
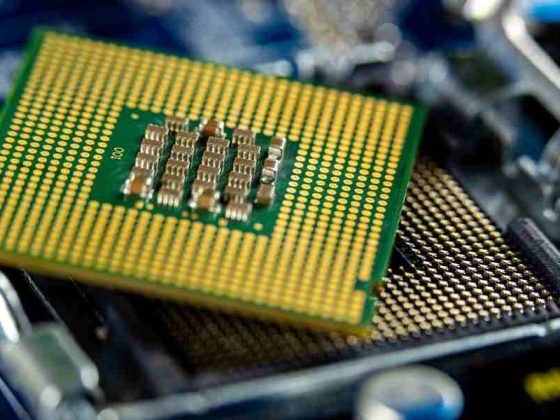
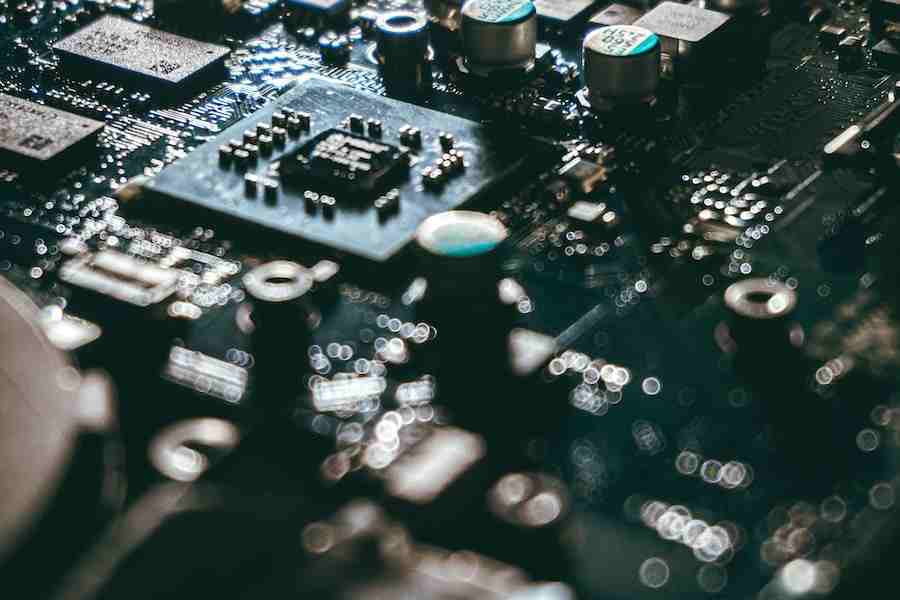
First of all, let’s understand what a GPU is. The acronym GPU stands for Graphics Processing Unit. In simple words, it is a device that is used to render images in computers. The GPU is usually mounted on a circuit board along with a few memory chips and connectors. The GPU has different types of integrated circuits that help in calculating and processing images, videos, and graphics. To be precise, there are 2 types of GPUs available in the market: Integrated GPUs, and Discrete GPUs. Integrated GPUs are those that are a part of the CPU. A discrete GPU, on the other hand, is a separate graphics card that is connected to the computer through a PCI Express slot. The integrated GPU is embedded within the CPU and cannot be removed. Therefore, when we talk about removing the GPU from the motherboard, we only refer to the discrete GPU.
How To Install A Graphics Card On Motherboard?
- Unplug the power cord from the back of the computer and turn it off.
- Remove all cables connected to your motherboard and graphics card, including any power or data cables.
- Remove the expansion slot cover on your motherboard if you are replacing an existing graphics card or plan to add new hardware in that slot. If you are simply upgrading the graphics card, skip this step.
- Unscrew the screws holding down your graphics card’s expansion bracket and gently remove them from your computer’s case (if applicable). The type of expansion bracket will depend on your computer’s case and motherboard model, so consult a user manual if you’re not sure how to proceed. Some cases may have a removable cover instead of an expansion bracket; if so, follow these steps instead:
- Gently lift up any plastic clips securing your old graphics card to your motherboard; these will be located near where the video cable connects to the motherboard for most models.
- Remove your old graphics card by lifting it straight up and away from the motherboard.
- Install your new graphics card in the reverse order of removal, ensuring that you connect all necessary cables (including power) before you turn on your computer.
- Turn on your computer and check for any error messages or other problems (such as a blank screen). If everything appears to be working properly, you can continue with the rest of this guide. Otherwise, you may have a defective graphics card or motherboard that will need to be replaced.
- Run a virus scan on your computer using an up-to-date antivirus software package; many manufacturers recommend using a different antivirus software than the one included with Windows to ensure compatibility with their hardware drivers and prevent conflicts between programs or services. You can also try running Windows’ built-in system restore utility if you suspect that there may be an issue with one of your system files, though a software conflict is causing your computer to fail.
- Install the latest graphics card drivers for your video card and operating system using the manufacturer’s website or an independent site such as DriverGuide.com. If you’re using a Windows 8-based computer, you should also enable automatic driver updates from Windows Update to ensure that your computer is always running the most up-to-date hardware drivers available.
Conclusion
Removing the GPU from a motherboard, while not necessary, can be very useful. This is particularly true if you are in a situation where you need a computer that doesn’t have a lot of power. While you can do this with any computer, it is much easier with a pre-built desktop, since you do not have to open the case and remove any components. This is a good solution for situations where you need a computer for a specific purpose and you do not need a computer with a lot of power. It is important to note that removing the GPU from a motherboard will not affect the rest of the computer. You can remove the GPU from the motherboard and use it as an open-air computer case. Moreover, you can also use it to build another computer.